Getting Started#
This guide is for new users working in a small team with an existing Notebook. If you are an Administrator setting up your Fieldmark™ environment for the first time, see Getting Started as an Admin. If you are using an Enterprise Notebook, speak to your organisation’s Enterprise Administrator.
New Users#
1) Get your credentials sorted#
Talk to the Administrator of the Notebook you are planning to use to discover their preferred method of authentication (see Logging In). You may need to create an account before they can give you permission to see the Notebook.
Looking for a trial account?#
Sign up for a trial account at here.
2) Check your compatibility#
For details of supported operating systems and recommendations for hardware see Hardware.
3) Download the App#
While you still have an internet connection, download the Fieldmark™ App from the Android or iOS app stores:
Or open the Fieldmark™ App on a web browser on your desktop, or on a mobile device, at one of the following addresses:
the server nominated by your organisation (see your Administrator for details)
your organisation’s server (for Enterprise users, see your Administrator for details)
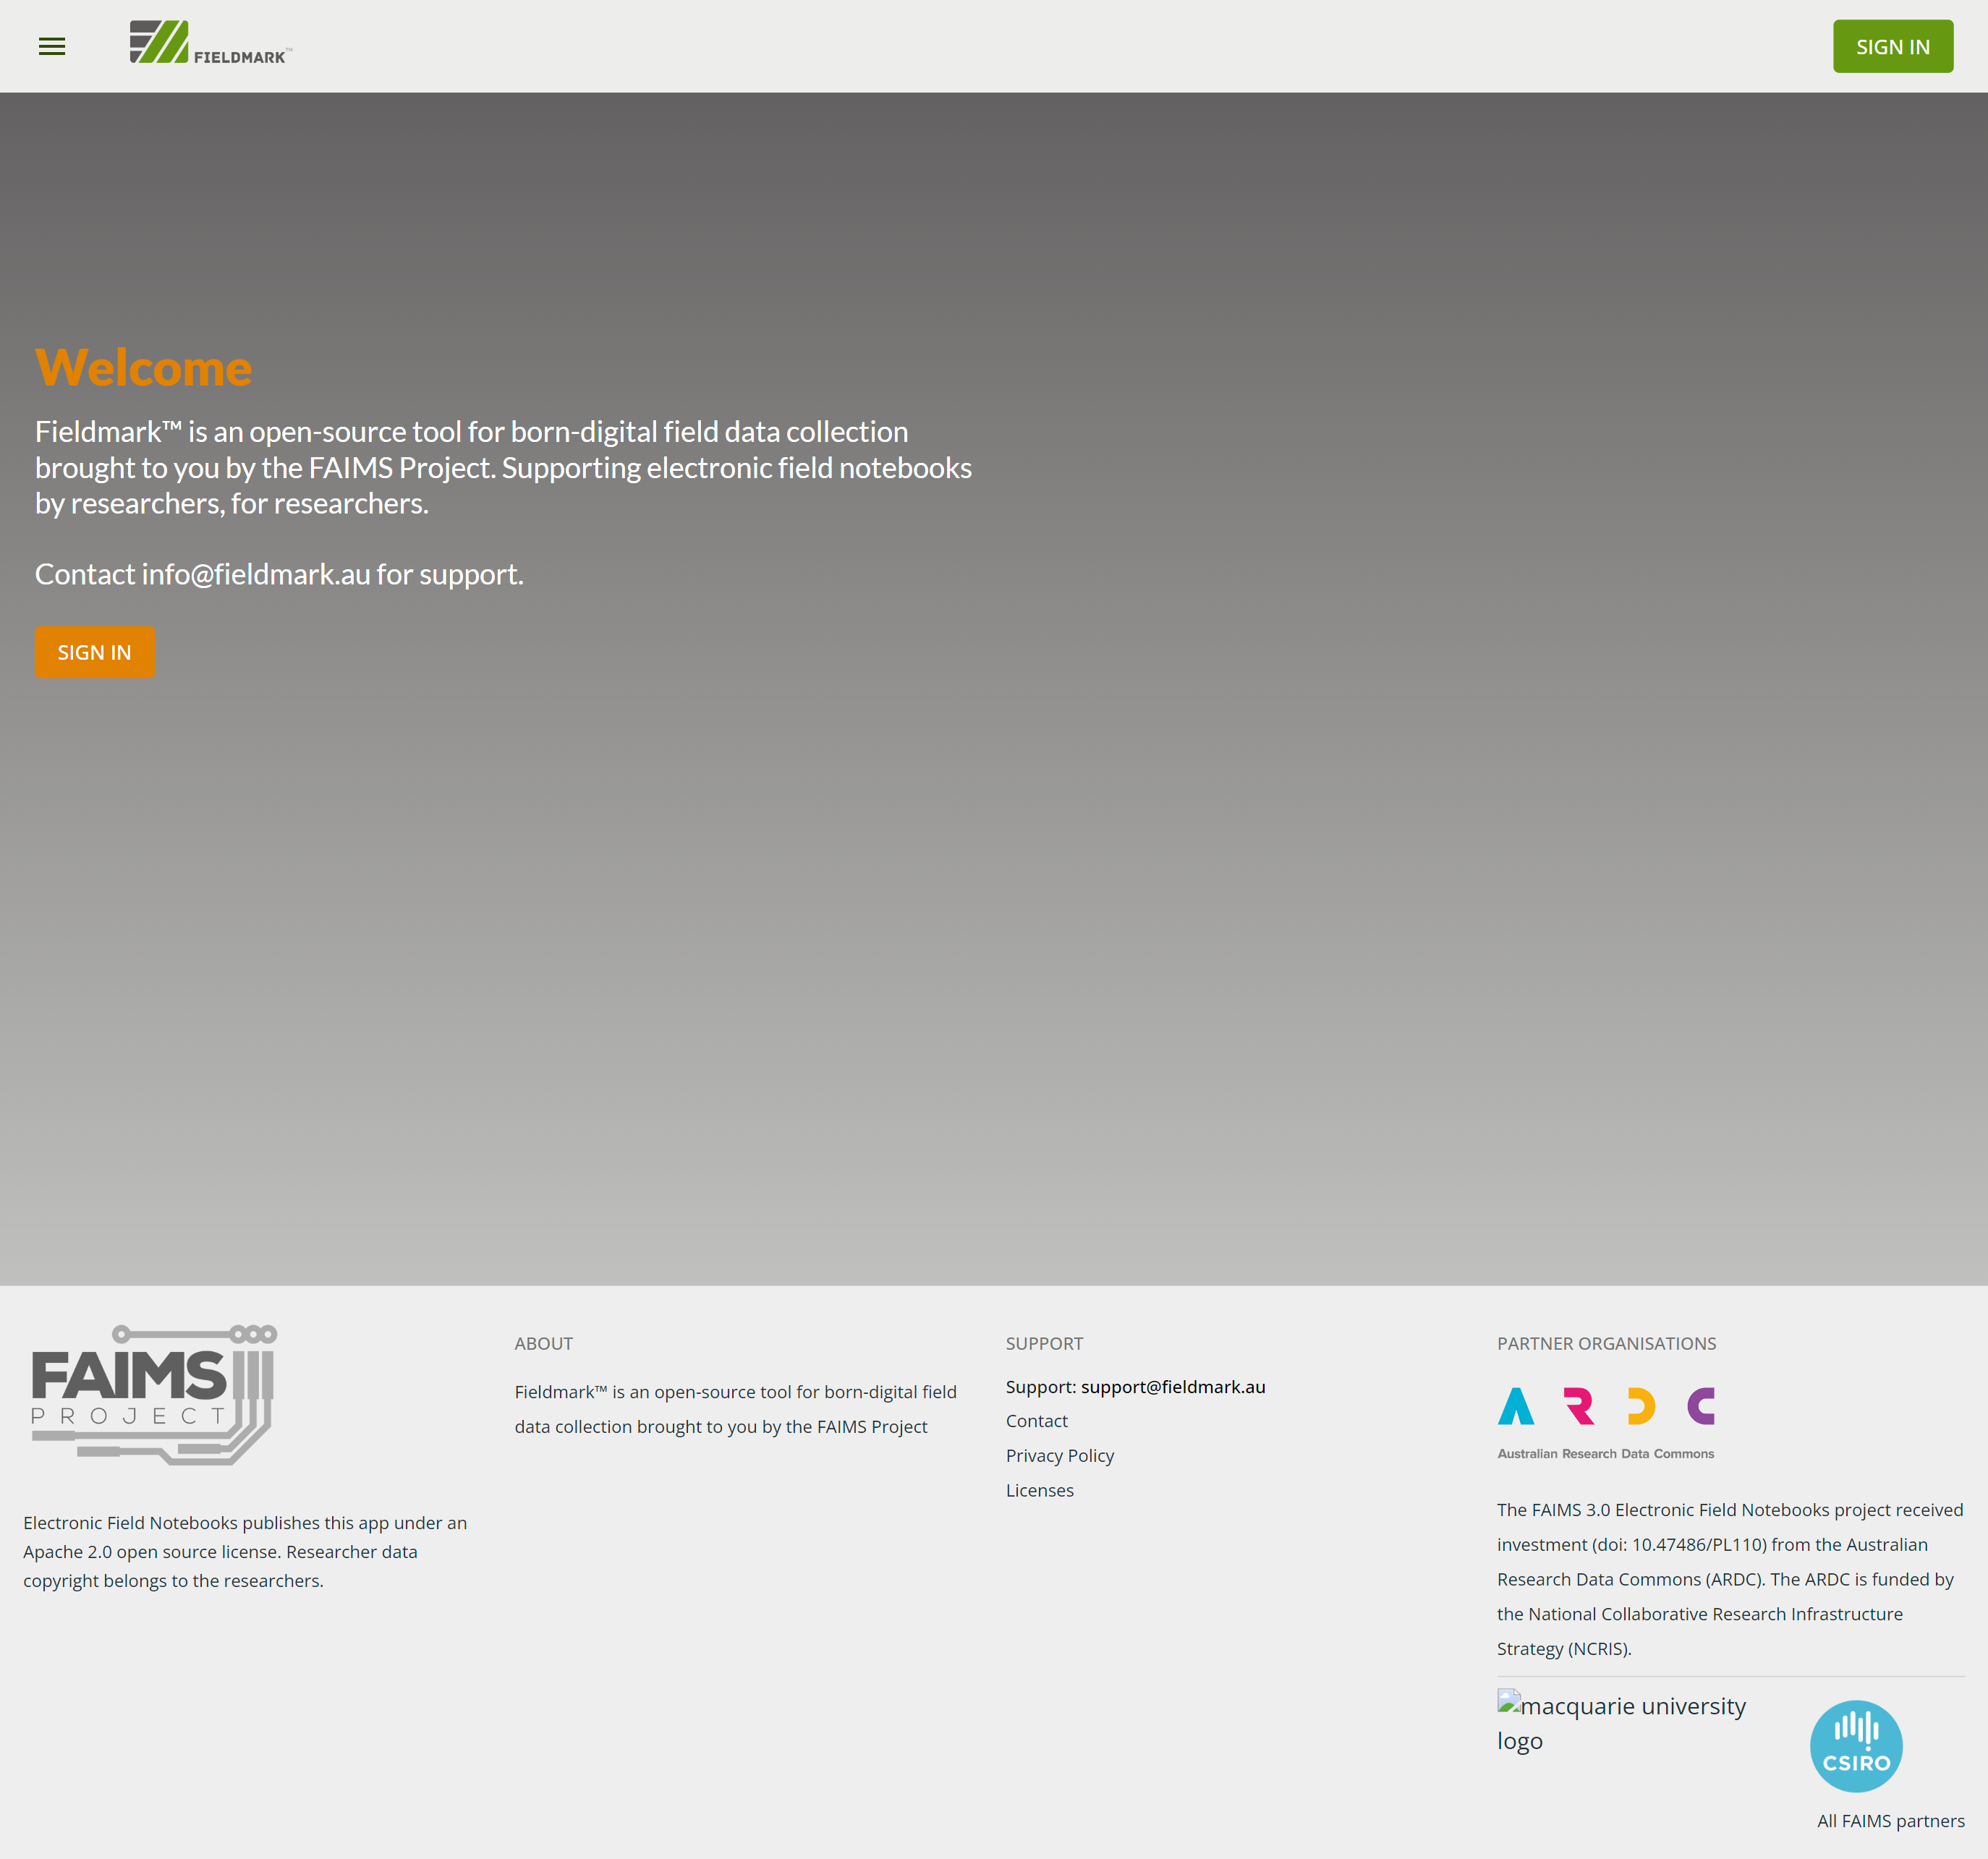
You will see a Home page similar to this:
4) Login#
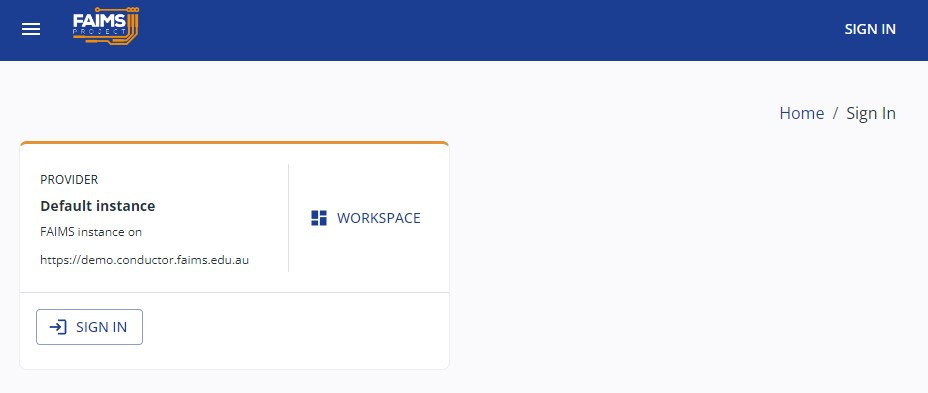
To login, click the button on the main page or from the top right hand corner. You will see the main sign-in screen:
Click the button and select a Single Sign On (SS)) service, eg Google, or enter your local login credentials:
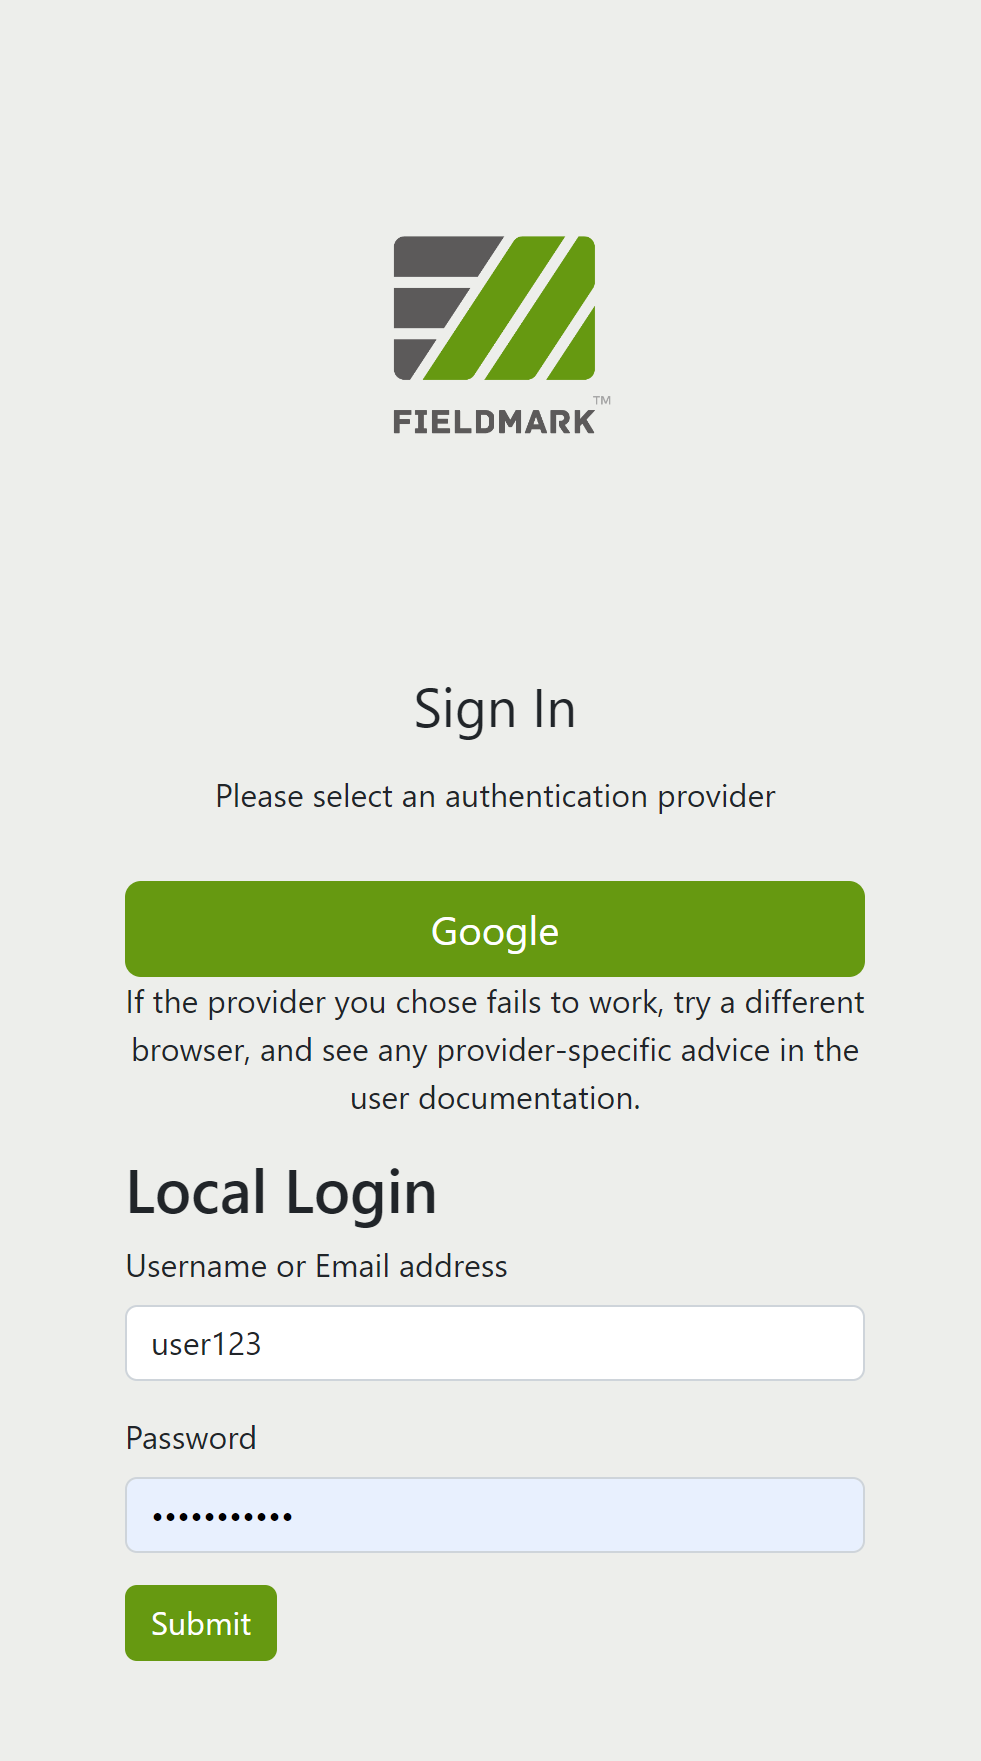
Check in with your Notebook Administrator if you’re not sure which authentication service to use.
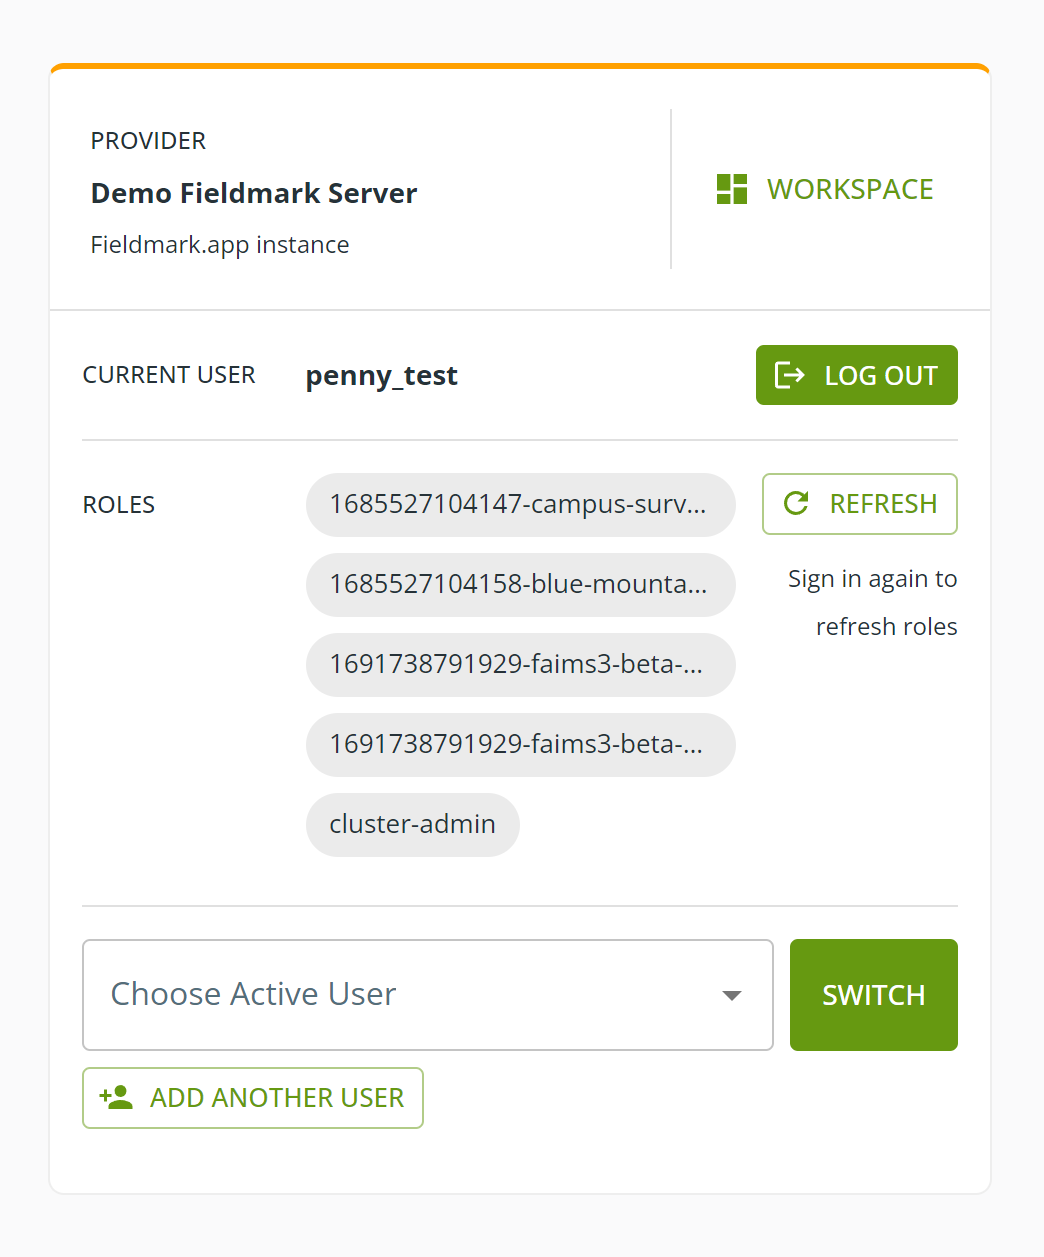
If your account is recognised, you will be successfully signed in and see your login name and role:
For more information on logging in, see Logging In.
5) Get to the know the Fieldmark™ Workspace#
The Fieldmark™ Workspace is the base from where you can see and activate notebooks that have been shared with you, or draft notebooks that you have created yourself.
To access the Workspace click the on the Home page or select ‘Workspace’ from the Navigation Bar (accessed from the hamburger menu on the top left corner of the App):
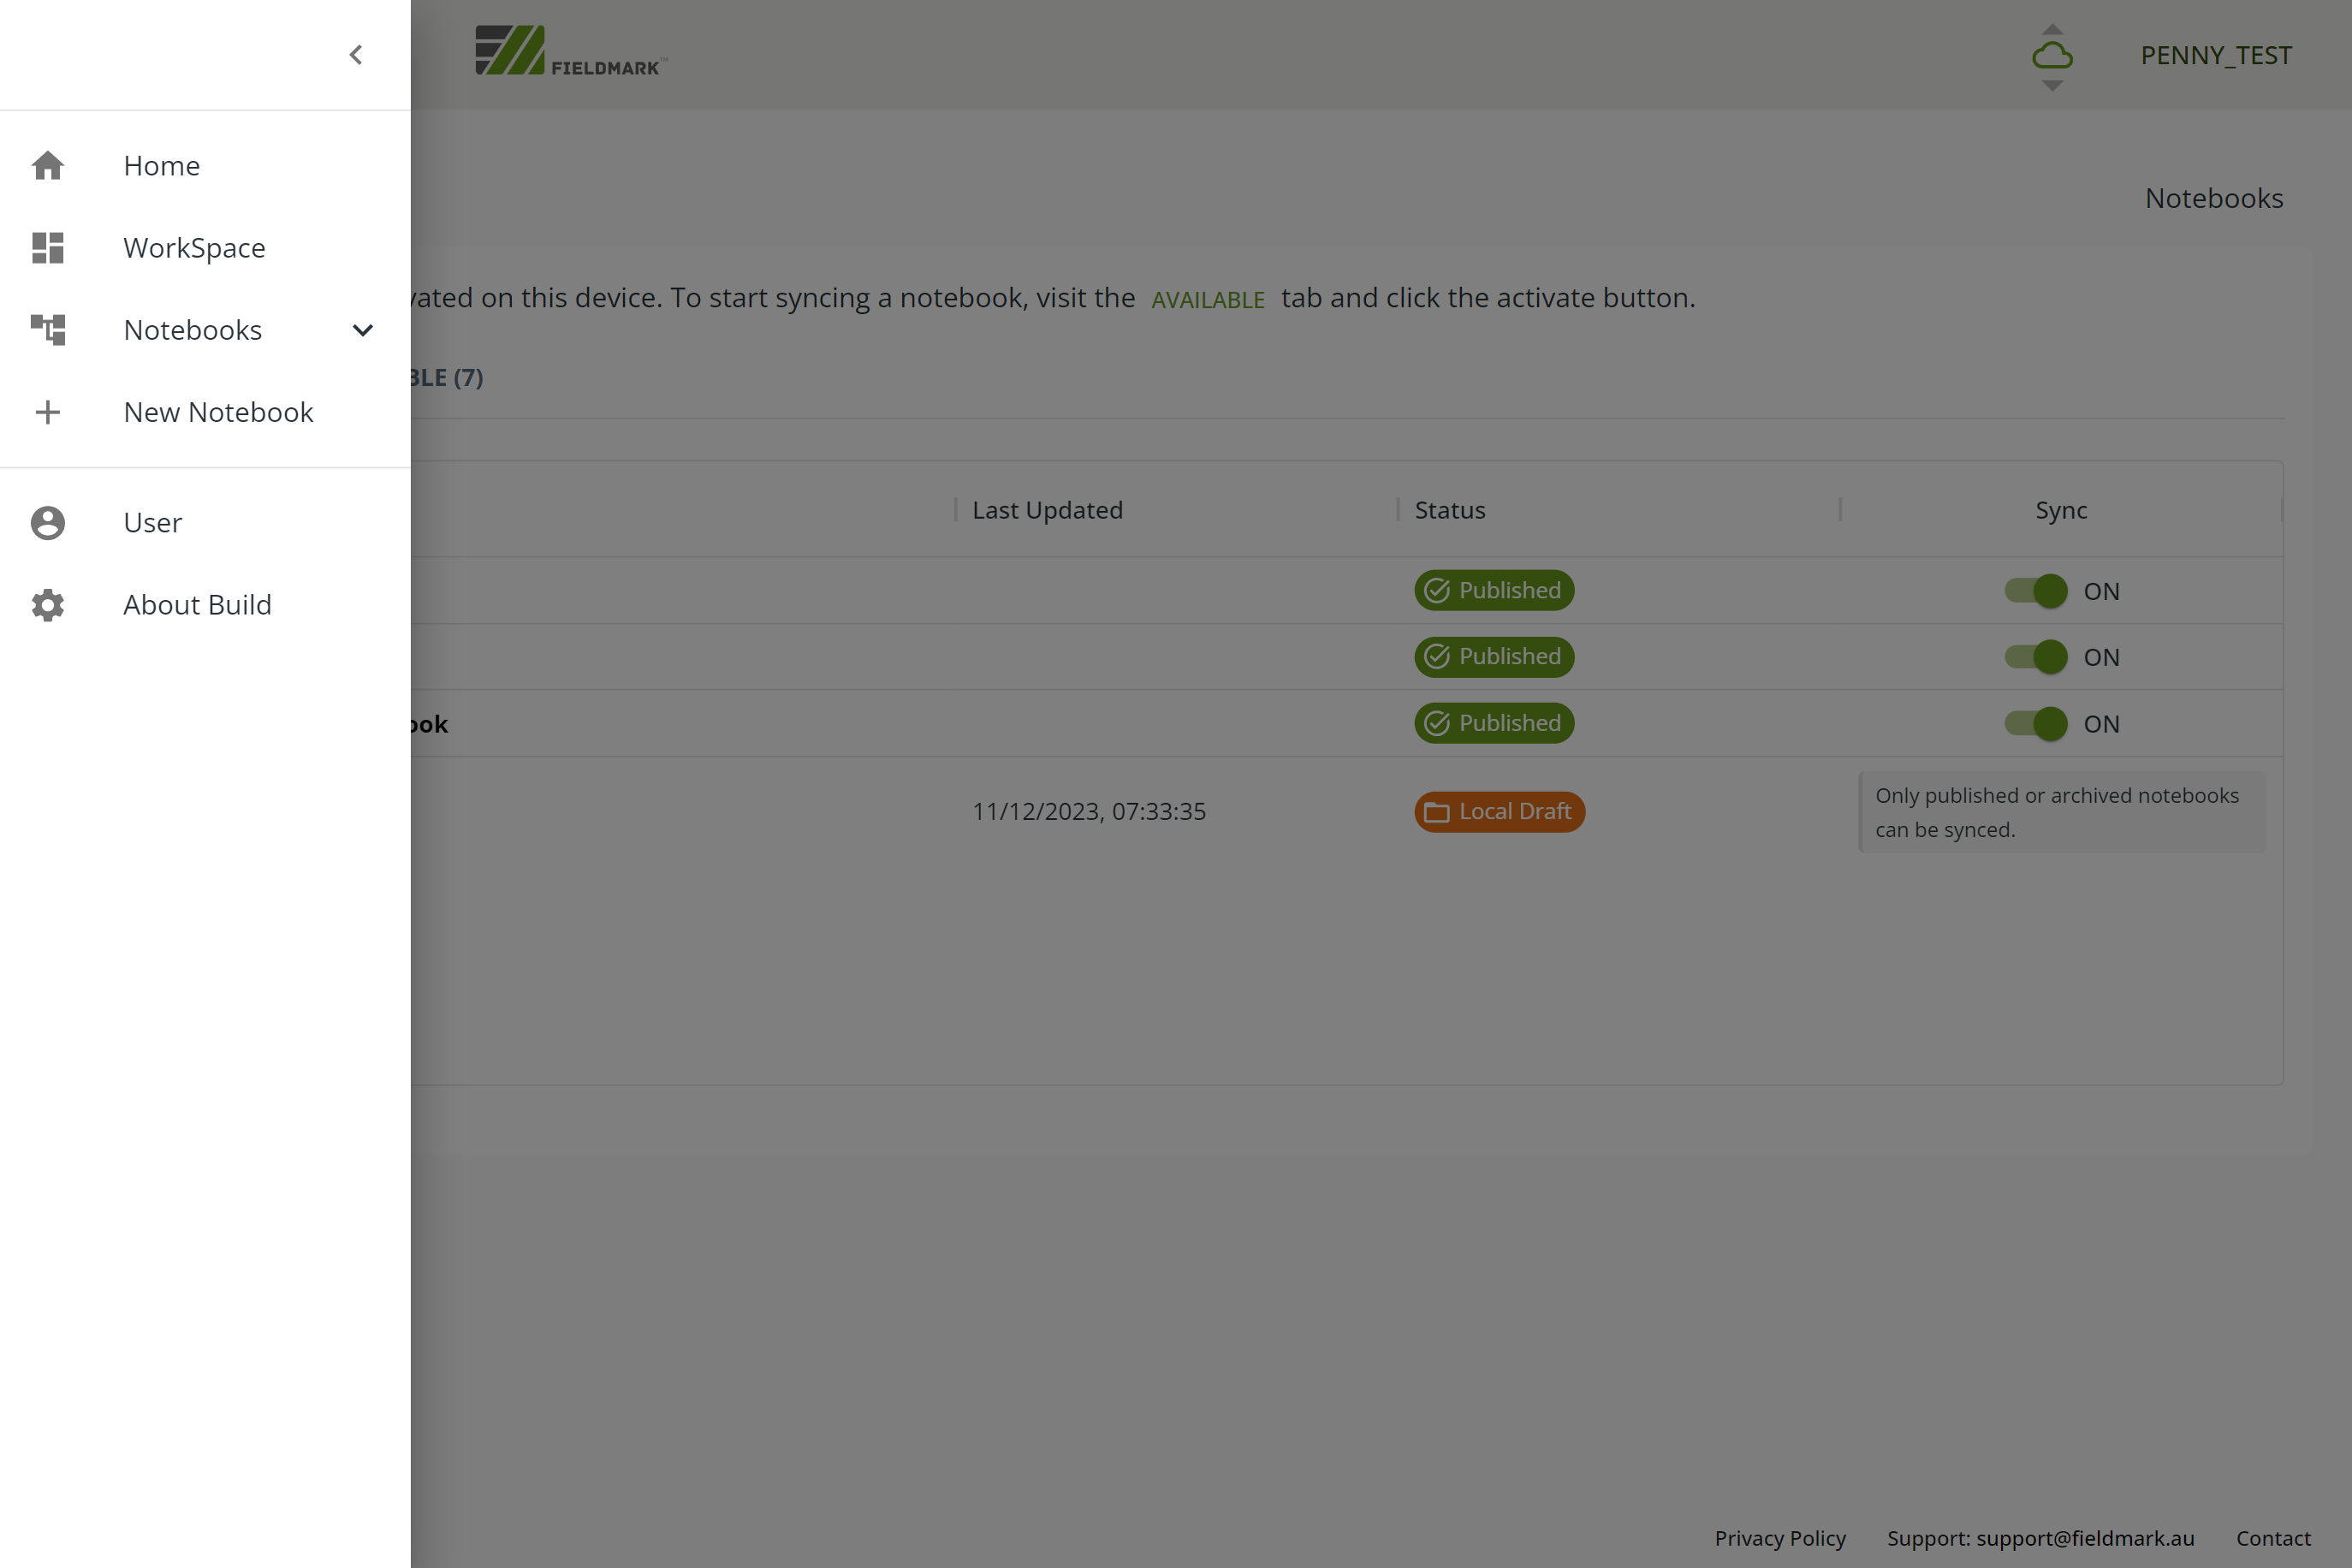
On the main Workspace page you will see a list of activated and available notebooks:
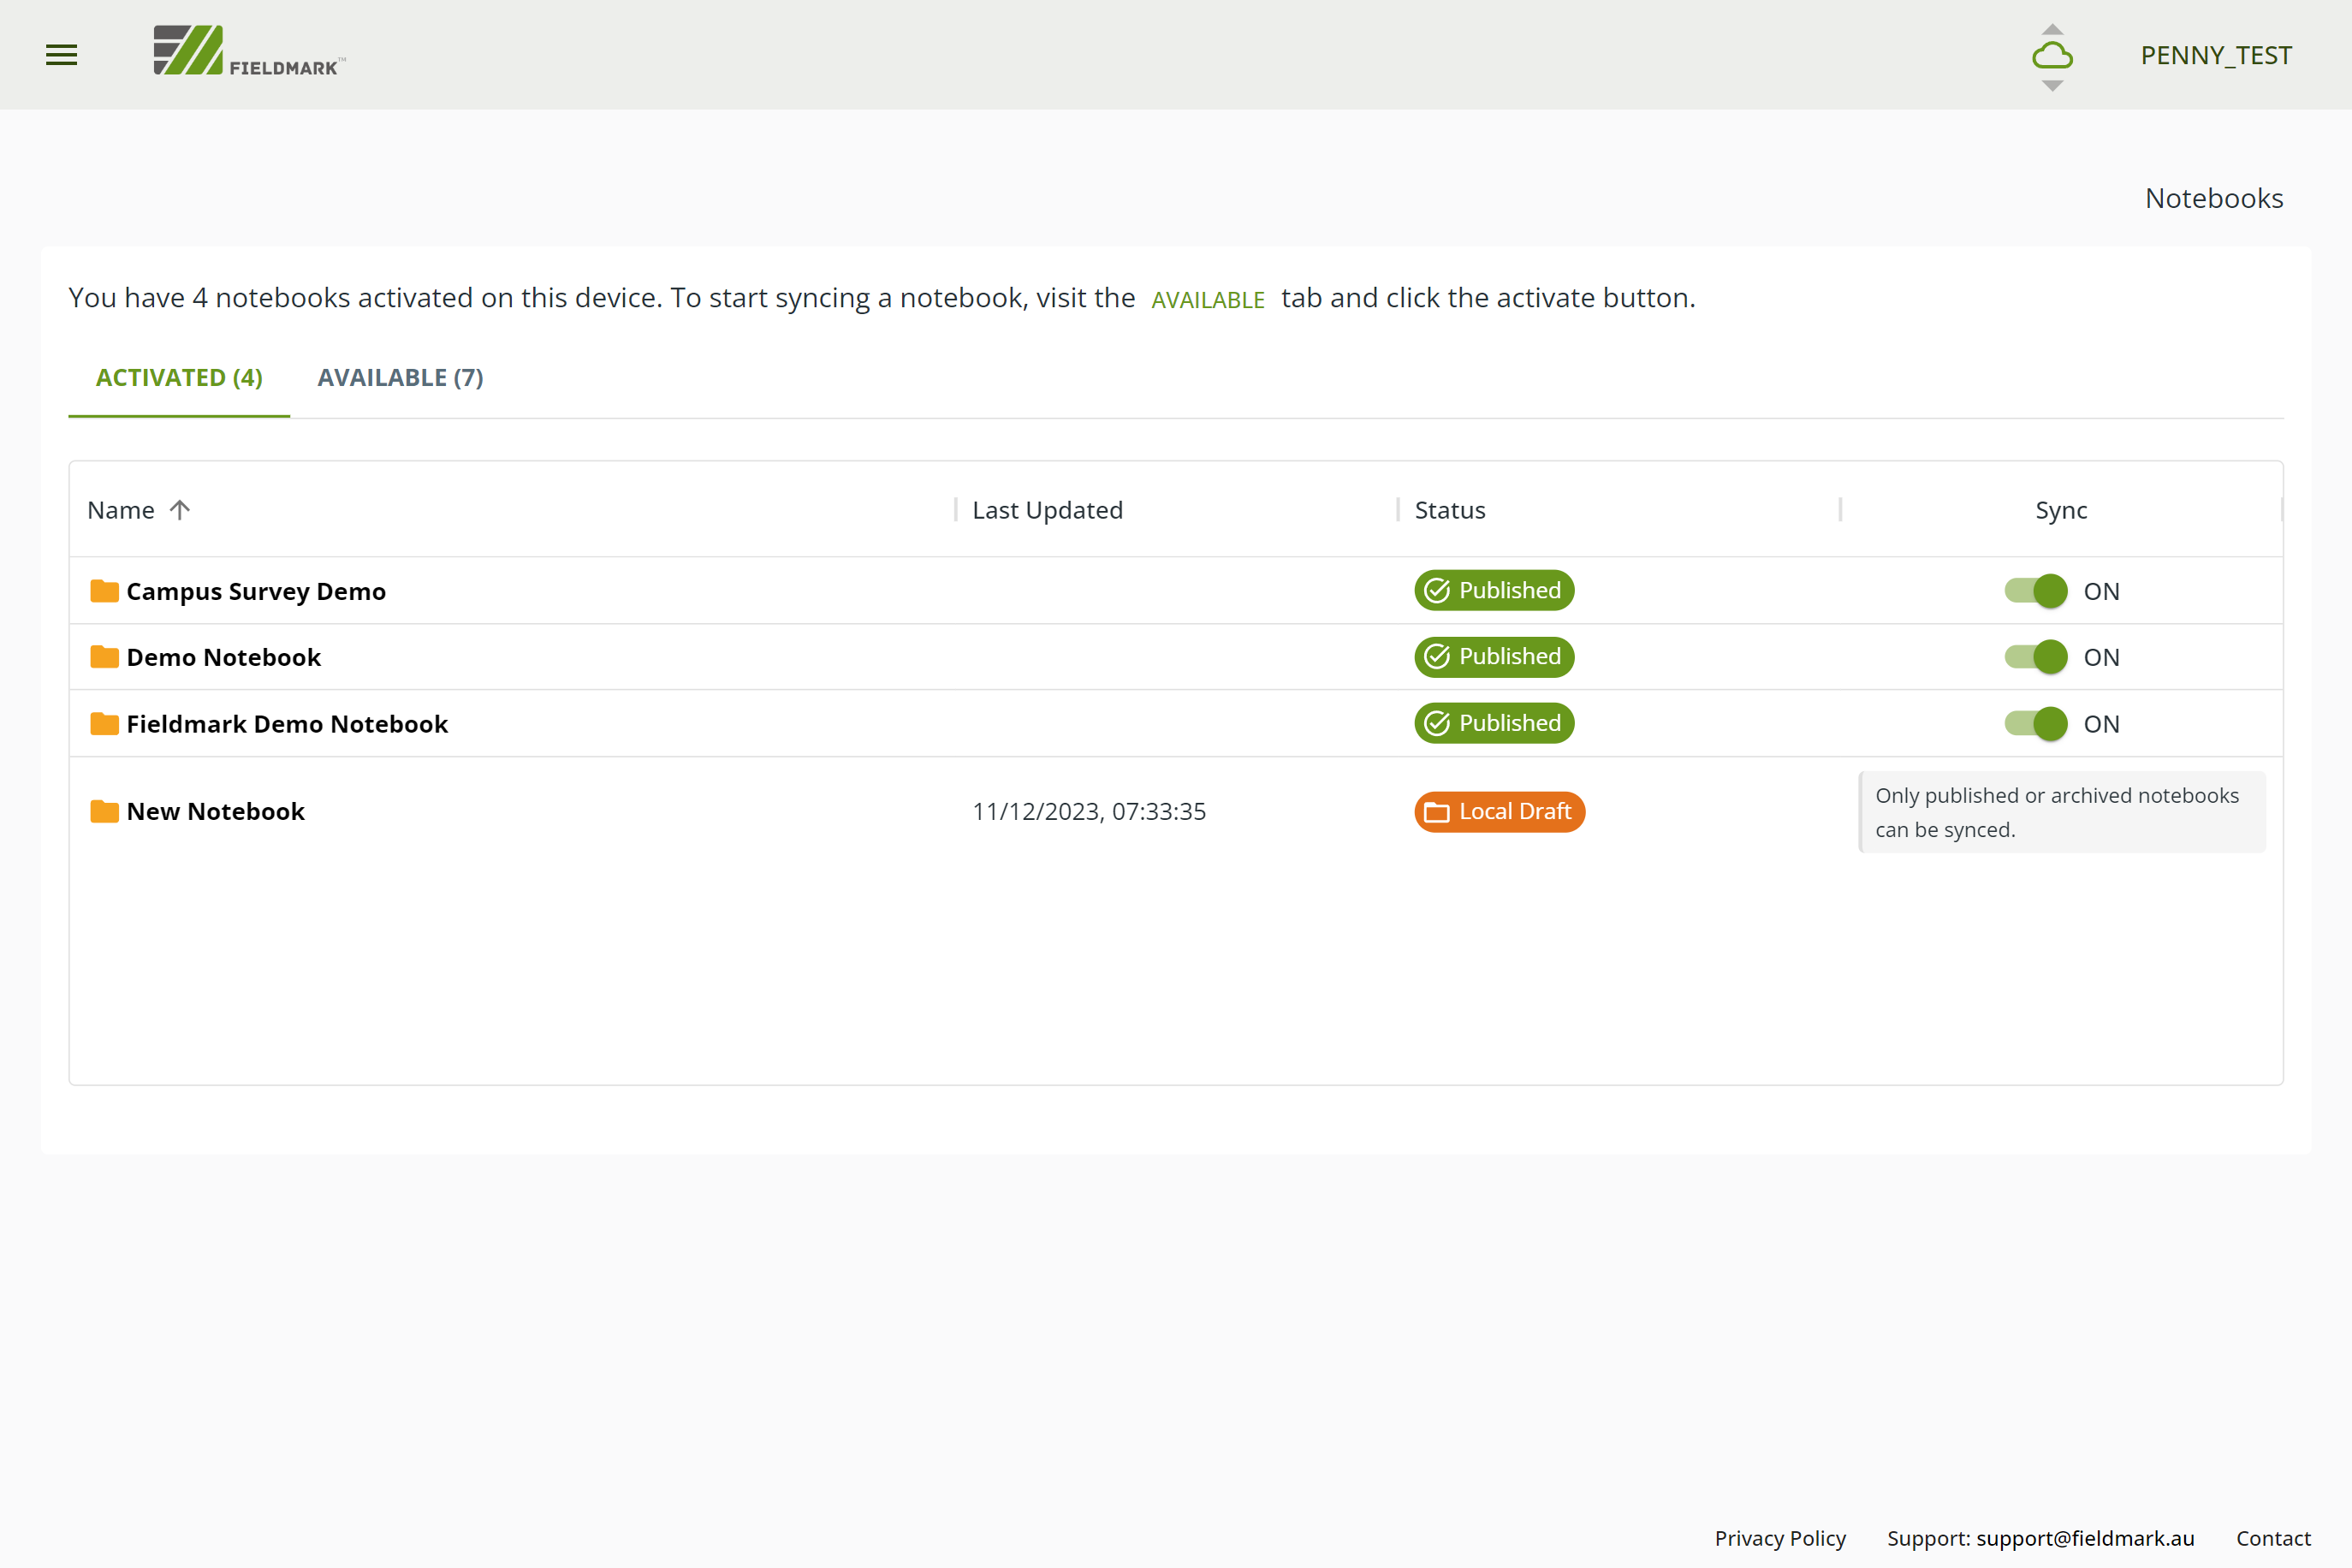
Published notebooks (that are shared with other uses and ready for synchronisation) are green, showing ‘Published’.
Draft notebooks that appear on your local device only are orange, showing ‘Local Draft’. To publish a notebook, see Notebook Creation.
If you cannot see a notebook as expected, contact the Notebook Administrator to ensure that the correct account has been authorised.
To activate a notebook, click or tap in the “Sync” column and wait for it to appear in the Activated list. You can then tap or click to start using the Notebook.
6) Try out a Demonstration Notebook#
We have a number of demonstration notebooks available for all users to showcase the essential features of the Fieldmark™. The list will change over time and notebooks will be updated when new features are released. Records in all demonstration notebooks are wiped frequently, so don’t use them to collect real data. To learn more about the current set of demonstration notebooks, read more at Demonstration Notebooks.
7) Still need help?#
For Troubleshooting for more information or contact us at support@fieldmark.au.